To comply with PCI standards, we no longer pass credit card details through the Portal. Read the following

carefully
to ensure Donation and Registration Payments via the Portal are interrupted as little as possible.
Several features are affected by these changes and may require additional setup to continue working as you expect.
- Recurring Giving
- Online Giving
- Mission Trip Giving
- Mission Trip Registration
- Event Registration
Recurring Giving
Congregants can no longer set up recurring gifts via the Portal. However, existing future gifts will continue to be processed.
Additional Setup
You may need to configure your system to continue processing donations and payments. Your next steps depend on whether you use Authorize.net or the emulator provided by OnlineGiving.org (NMI).
If you aren't sure whether your Portal is using Authorize.net or NMI (supplied by OnlineGiving.org), consider the following:
- If you use OnlineGiving.org, you are likely to have the Portal set up to use NMI.
- If you are not sure, check with your financial team.
- If you're still not sure, check with ACST Support or your giving vendor's support team.
If you use Authorize.net, you need to configure the following settings:
- Go to Administration > Configuration Settings.
- Search for Application Code "PORTAL" and Key Name "authorizePopupUrl".
- If you find it, open it and click Edit Record.
- If you don't find it, click New Configuration Setting to add the record.
- For Value, confirm or enter "https://accept.authorize.net".
- Save the record.
- Search for Application Code "PORTAL" and Key Name "authorizeUrl".
- If you find it, open it and click Edit Record.
- If you don't find it, click New Configuration Setting to add the record.
- For Value, confirm or enter "https://api.authorize.net".
- Save the record.
The changes should take effect within 10 minutes. If needed, you can force a reload using portal/login.aspx?reloadPortalSettings=true.
If you use the NMI emulator provided by OnlineGiving.org, the configuration may be different. See Set Up NMI in the Portal.
Online Giving and Mission Trip Giving
You can use configuration settings to point Donors to a different
site for payments. This is a great alternative if you have pages for giving on your website or have a page supplied by your giving vendor. To point Donors there:
- Go to Administration > Configuration Settings.
- Search for Application Code "PORTAL" and Key Name "OnlineGivingUrl" or "MissionTripGivingUrl" (depending on which one you want to set up).
- If you find it, open it and click Edit Record.
- If it doesn't exist, click New Configuration Setting to add the record.
- For Key Name:
- Confirm or enter "OnlineGivingUrl" to set up a redirect link for online giving payments.
- Confirm or enter "MissionTripGivingUrl" to set up a redirect link for mission trip payments.
- For Value, enter the full link to your giving vendor.
- If you use OnlineGiving.org, this URL supports a Portal login token. Enter "?mp_token={ogo-token}" at the end of the link to automatically log users in to OnlineGiving.org when they're logged in to the Portal. (See the "Example" section below.)
- Save the record.
- Repeat these steps if you need to set up another Giving URL.
Warning About Pop-Up Blockers: If someone has a pop-up blocker, they are still able to make the payment. However, while the payment does go through, nothing is returned to MinistryPlatform. So any registration, form response, invoice, or related records are not created. If a donor has this issue, let them know that they need to allow pop-up messages for the website where they're making payments.
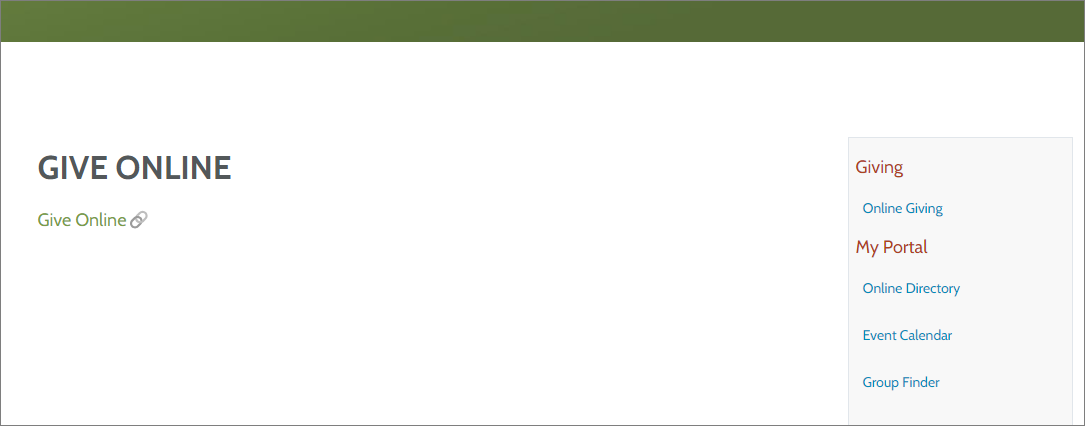
Once you set up these links, Donors are redirected to the site where they can enter a payment. Here's an example of what the redirect link might look like to users on your Portal:
Example: {ogo-token} for Automatic Login
If you use OnlineGiving.org as your giving vendor, you can automatically log users in to the site you redirect them to when they're logged in to the Portal. This saves them the step of logging in to another site! To do this, add the token to the end of
the Giving URL(s) (in step 4 of the procedure above).
For example, let's say this is your church's giving page link:
https://mychurchcode.onlinegiving.org/donate/index?mp_token=
And if you want to use the {ogo-token}, the Value you'd enter for the Giving URL should look like this:
https://mychurchcode.onlinegiving.org/donate/index?mp_token={ogo-token}
