With the Template Editor Tool, you can create beautiful, responsive Templates -- without HTML! Highlights of the tool include:
When you create a template in the Template Editor Tool, a Template record is created in MinistryPlatform. You can give templates both an internal Name (that only Platform users can see) and an external Subject (that Recipients can see). After saving, you can reopen your template with the Template Editor Tool for future edits. When you're ready to send it to select Contacts, you can select your template in the New Message Tool.
Launch the Template Editor Tool by navigating to Communications > Templates > Tools > Template Editor Tool.
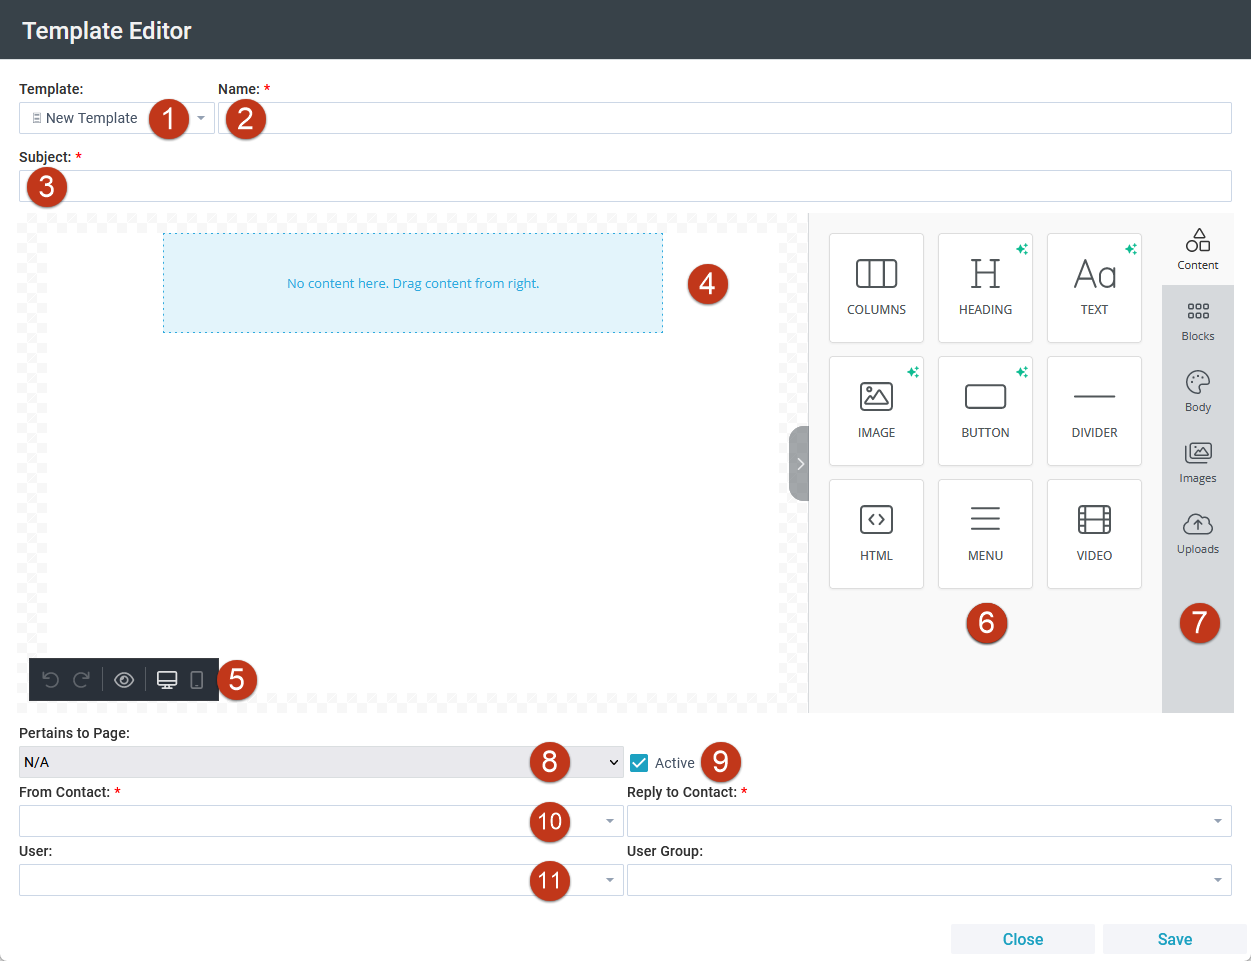
1. Template List: A list of active Templates the current User can access. Templates are grouped according to supported merge fields displaying under an associated Page or Contact Merge Fields. A message will inform you if the selected Template was not created using the Template Editor Tool.
2. Name: A friendly name that clearly identifies this Template. This field is for internal use only, so including clarification (for example, a designated Campus) would be appropriate.
3. Subject: The Subject line when this Template is selected in the New Message Tool. If the template is for a text message, this will be the message.
4. Body: Drag-and-drop content into the Body to build a Template. Drag existing content to reorder.
5. Preview: View the Template in desktop or mobile to preview without edit mode.
6. Editor Panel: Displays relevant editing options based on the currently selected content or tab. Once content has been added, the editor panel supports drilling down to specify styling and behavior.
7. Navigation Tabs: These tabs represent the levels of editing:
8. Pertains to Page: The Page ID related to this Template and used by the New Message Tool for filtering and grouping Templates.
9. Active: Indicates whether this Template is active and currently available in the New Message Tool.
10. From/Reply To: If the template used outside of the New Message Tool (for example, as the Care Case Notification), the 'From' and 'Reply To' Contacts might be sourced from these values. This varies feature by feature. Please check feature-specific documentation.
When a template is selected in the New Message Tool, you can specify the 'From' contact for emails or the 'From SMS Number' for texts. This is selected in the New Message Tool; it is not defined at the Template level. For more information, see Sending Emails and Sending Text Messages.
11. Users/User Groups: The User or User Group that can use this Template in the New Message Tool and the Template Editor. Setting this value only restricts access in the tools. All Users can still view the Template record on the Templates page. Note: You may be tempted to impersonate someone in the assigned User Group to gain access to the Template. This is not supported by the Template Editor tool; the logged-in User is the User for Template Editor Tool purposes.
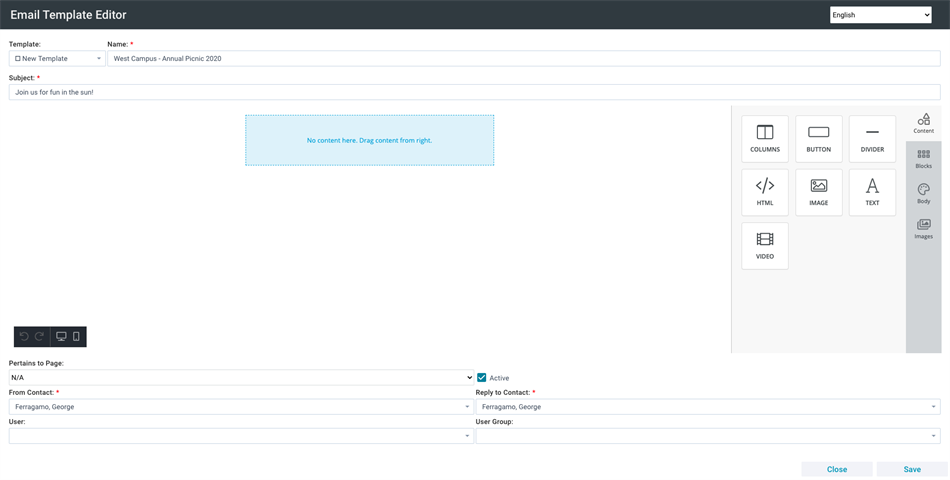
Launch the Template Editor and complete all required fields:
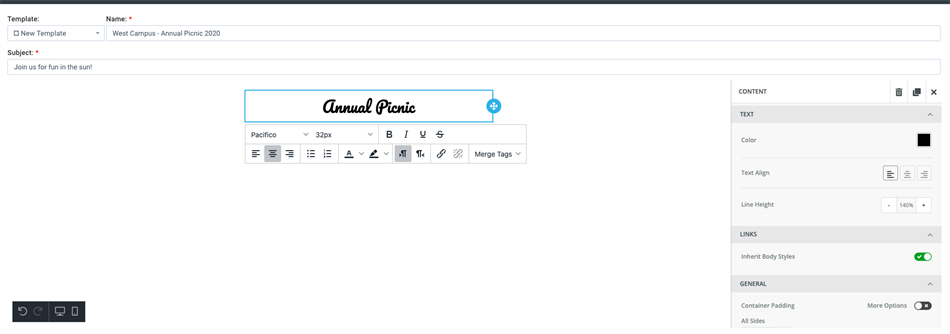
Next, add a header using a text content-type:
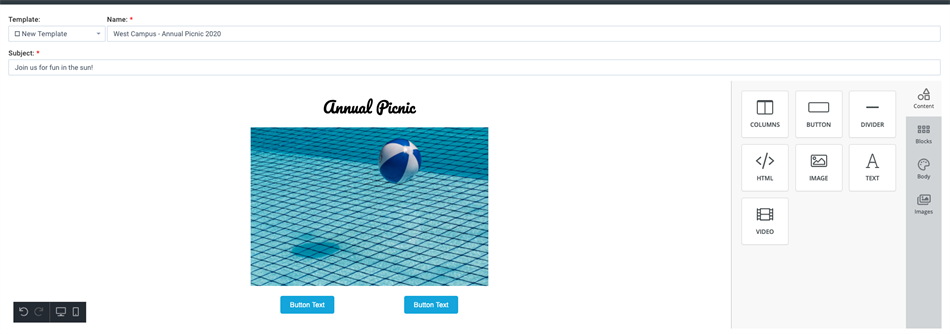
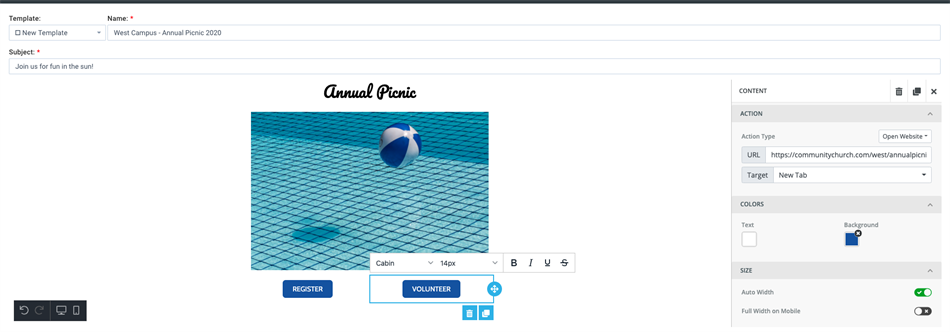
Now, add an image by dragging and dropping the image content type. Once added, click the content to upload an image:

Add a couple of buttons to encourage recipients to take action. Note: Be sure to include the URL your button should take users to when they click it. Place two buttons side-by-side (rather than stacked vertically) using columns:
Once added, buttons can be styled to match the aesthetic of this Template:
Images (JPG, PNG, BMP, GIF) have a size limit of 1 MB.
Once uploaded, images are stored in AWS, but navigating to these stored images is not supported. If the same image will be used in multiple Templates, the image will need to be uploaded within each Template.
If enabled by a SPoC, the Template Editor also offers a collection of royalty-free stock images available for use in any Template. This feature aggregates images from a handful of Creative Commons licensed sources. (See the Initial Setup section below for instructions on enabling this.)
The template body has a default width of 500 pixels. A width of 480 pixels with a default padding of 10 pixels, for example, could be used. The designs are responsive, so larger images will be scaled down to fit this, but the files will be larger, so loading will be slower.
The tool does give you options to use wider content, you can adjust upward from the default of 500 pixels.
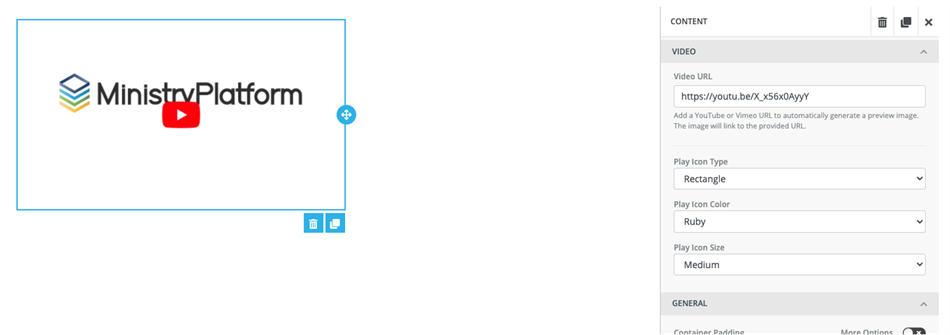
Videos hosted by Vimeo or YouTube can be linked within a Template. A preview image will be generated from the provided URL. Note: Vimeo videos must be public in order for the preview image to show. Use the editor panel to adjust the play icon as desired:
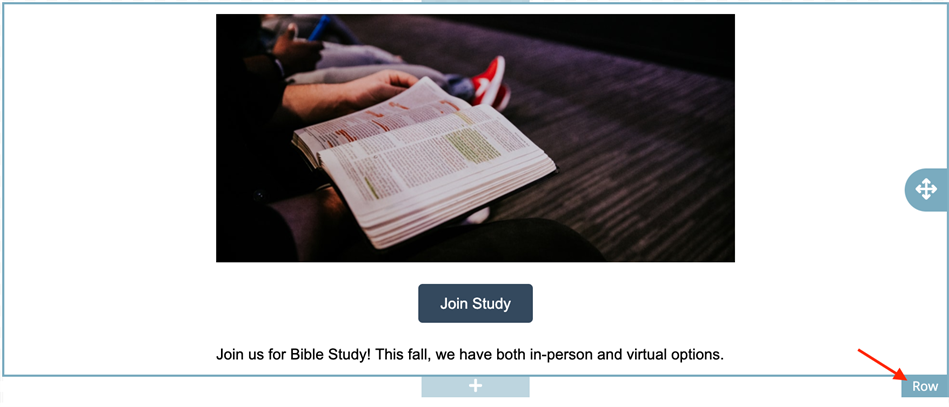
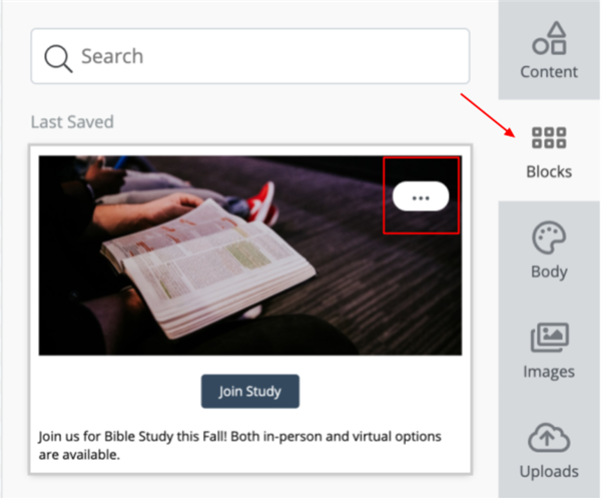
User Saved Blocks are pieces of content saved into one "Block" and organized by category and tag(s). The block of content may contain one or more elements. For example, a text block, image, and button may make up one "Saved Block". The user can search for a block by tag, and the block can be dragged and dropped into the Template. This is ideal when the same footer or header is used in multiple templates for a consistent look and feel.
Saved Blocks are limited by User. Template User and/or User Group owners do not affect who can access a Saved Block.
When editing a text block, Contact Merge Fields are always available related to both the Recipient and Sender. If Template's 'Pertains to Page' value is defined, Data Merge Fields related to the Page will also appear.

If the Pertains to Page value is changed while editing a Template, click away from a text block then return to refresh the Data Merge Fields.
Note that data fields are based on the default field list, which vary between Pages and their sub-pages. So, the data fields available on a main page (like Group Participants) that were used to create a Template may not be available as data fields on a sub-page (like when you use the New Message Tool from the Groups page and select Recipients: Participants).
Love including buttons in your emails? Us too! But note that Outlook Desktop uses Word to render HTML in emails. This might make your buttons display without text when they're opened in Outlook Desktop.
While we can't control Microsoft, one smart church included text with a link under buttons in their Templates: "If the button does not display as it should, click here to...". Have another creative way to handle this? Let the Community know! #sharingiscaring
Depending on the message type, churches may be obligated to include certain information in the footer of an email, including giving recipients the option to unsubscribe. When used for this type of communication, it is recommended to compose the Template with a footer linking to the My Subscriptions Widget or the Portal Page My Subscriptions.
In order for Users to launch the Template Editor Tool:
AI in the Template Editor Tool
