Basics
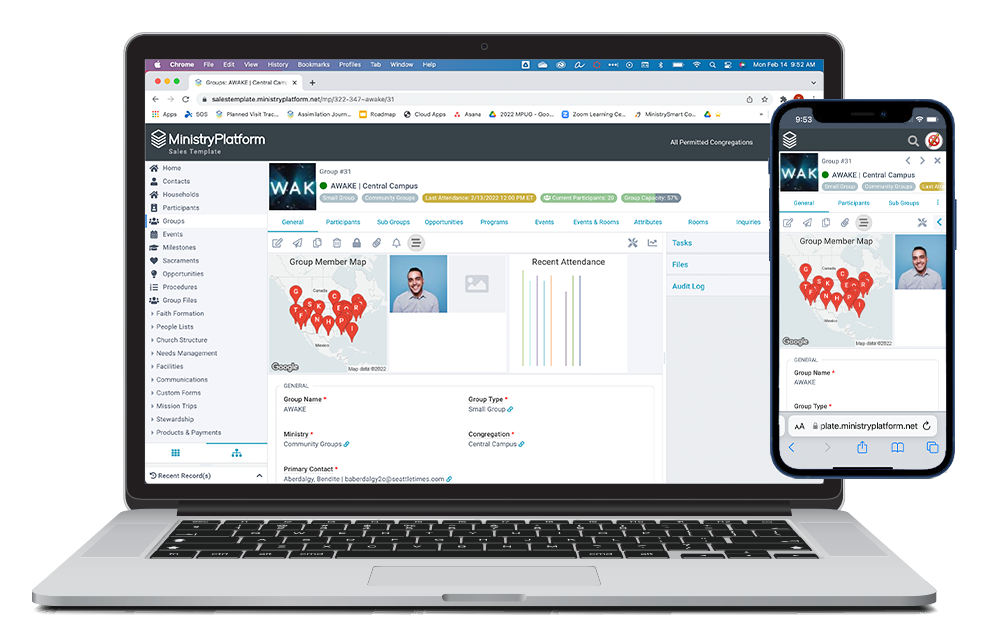
Want to display a map of more than one location? You can do that! For example, on the Groups page, you can display all of the Group Member's locations to organize that progressive dinner.
- Multiple addresses? No problem! We've included a multi-map so you can see all the pins in one place. Note: The multi-map record insight displays addresses, not individuals. So if multiple people in your subpage view share the same address, only one pin will appear for that address.
- Groups Page: Map of Group Member's Household addresses
- The multi-map Insight is based on a subpage view, so think strategically about where the images you want to display are located (for example, the Participants tab) and build your view before configuring your Insight.
- Pins will be displayed for the addresses in the view.
- The map will zoom out to show all pins. Lots of addresses close together? Your map will display a smaller area. But if your addresses are spread out, a larger area will display.
- Clicking the map opens up a zoomable Google Map dialogue.
- Clicking a map pin on your computer will open directions in Google Maps.
- Tapping a map pin on your mobile device will open your mapping application, if possible.
Initial Configuration
The map Record Insights are incredibly helpful and just plain cool. To get them up and running, you'll need to do a few things in the Platform first.
- If you don't have one already, obtain a Google Maps API key.
- Add the Google Maps API key to your domain record.
- System Setup > Domains/Accounts
- Open the Domain record
- Edit
- Scroll to the very bottom
- Paste the value into the Google Maps API key field
- Save
Configuration
 MinistryPlatform comes preloaded with a whole bunch of Record Insights. But if you want to add your own, you can do that if you have access to the System Setup section. Here's how ...
- Build your view on the desired tab of the page that will display the Record Insight.
- System Setup > Insights
- Click the "+" to create a completely new Record Insight. Or find one you like and hit that copy button.
- Add/Edit the desired information
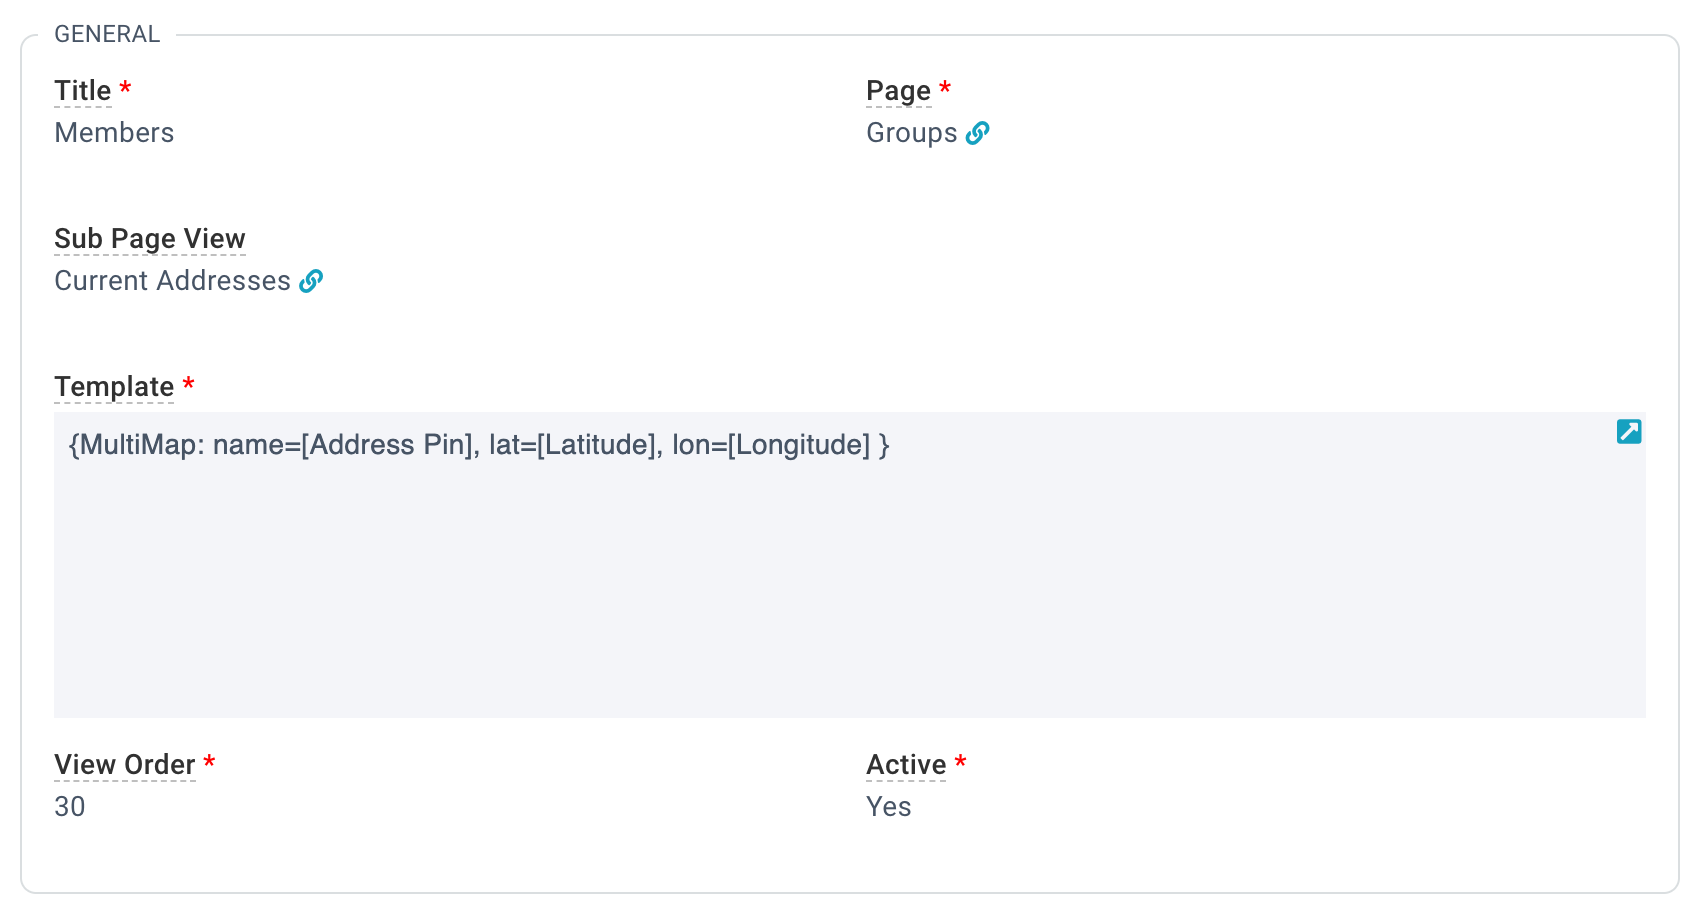
- Title: A friendly title for your Record Insight. Note: The title will appear on the image collection Record Insight, so choose something casual user friendly.
- Page: The page where the record insight will be displayed.
- Sub Page View: The view the images will be sourced from. In this example, the Current Addresses view on the Participants tab. Note: This is different than the maps Record Insight as the latitude and longitude values will be sourced from a subpage view rather than directly from a record ID.
- Template: The HTML template for this insight.
- name: The subpage column name that will appear when the pin is tapped. Note: If the column name is an alias, use that same alias as the name value.
- lat: The subpage latitude column name. Note: If the column name is an alias, use that same alias as the lat value.
- long: The subpage longitude column name. Note: If the column name is an alias, use that same alias as the long value.
- View Order: The order this insight will appear in, from left to right.
- Active: Whether the insight will show up on the page. If the insight is no longer relevant, set this to No.
- Save
Multi Map Template
Copying the template below is a great way to go! But be sure to switch the Template field into source mode (by taping that "</>" button) before pasting.
{MultiMap: name=[Address Pin], lat=[Latitude], lon=[Longitude] }
