Your Knowledge Base is moving on 3/25/24! Our new Help Center provides all the articles you know and love (plus so much more) in a one-stop shop. Ask your SPoC for details!

Groups


Check-In Suite utilizes Groups in MinistryPlatform to enhance the check-in process and functionality Kiosk and/or Classroom Manager. Each Group has fields specific to Check-In Suite that must be set correctly in order for a Group to display in the Check-In Suite.

Configuring Groups

For a Group to appear in the Check-In Kiosk and/or Classroom Manager, it must:

  1. Be included on the Rooms & Groups sub-page of an Event:
    1. Events > Open Event
    2. Rooms & Groups tab > New
    3. Choose the Room.
    4. Choose the Group.
    5. Set any other optional values.
    6. Click Save
  2. And, that Event must be in scope based on the settings selected on the Check-In Suite Home page.

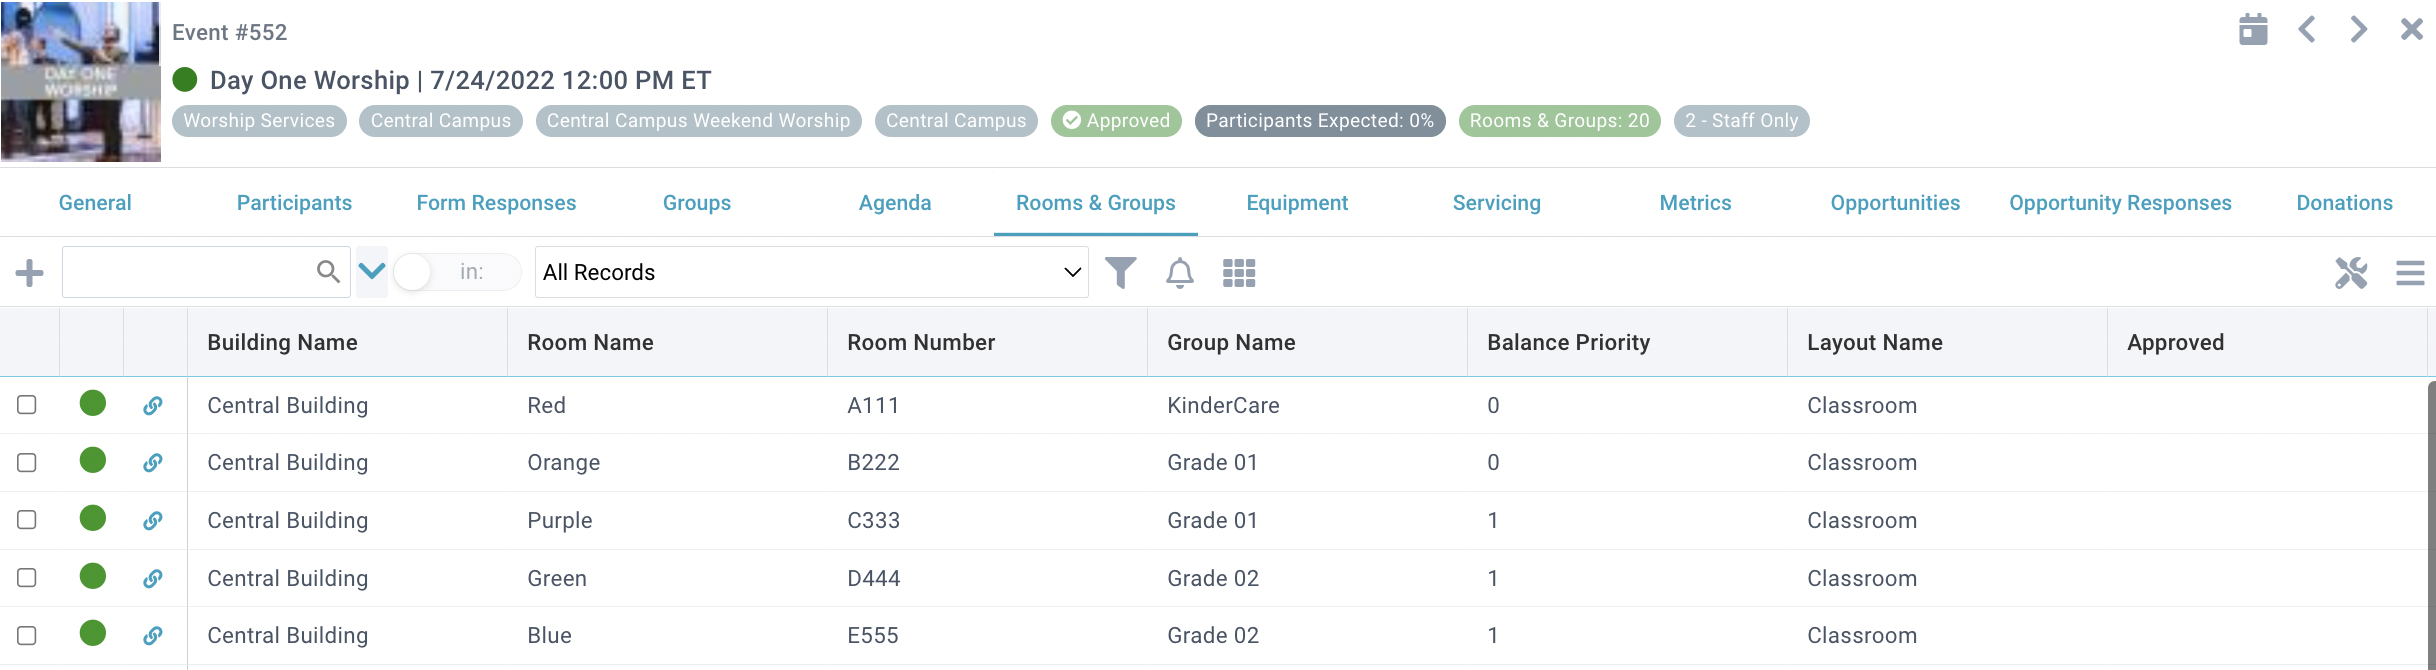
The Group's Room Reservations can also be seen from the Events & Rooms sub-page on the Group record.

Tip: Create your first Event of the series and add all your Rooms & Groups on the Rooms & Groups sub-page. Then, copy your Event for the desired recurrence making sure to also copy the Rooms & Group sub-page. If your Event Series is already created, use the Event Rooms and Groups Tool to update Rooms & Groups changes across the Series.

Groups & Name Tags 

Groups are associated with Label Sets (Name Tags) in the Admin Console. The Label Set controls the number of tags, if the tags are "secure", etc.

See this KB for details about creating and editing Label Sets.