You can assemble multiple Batches into a single Deposit in MinistryPlatform for your bank. Dividing your check and cash donations into Batches based on the following recommendations will save you time in the Batch Manager Tool:
Once your file is imported or your checks are scanned, the Batch Manager Tool is designed to find data entry without the use a mouse. Tab to quickly and easily navigate through the Donation details rows to assign Donors, dollars and Designations, as needed.
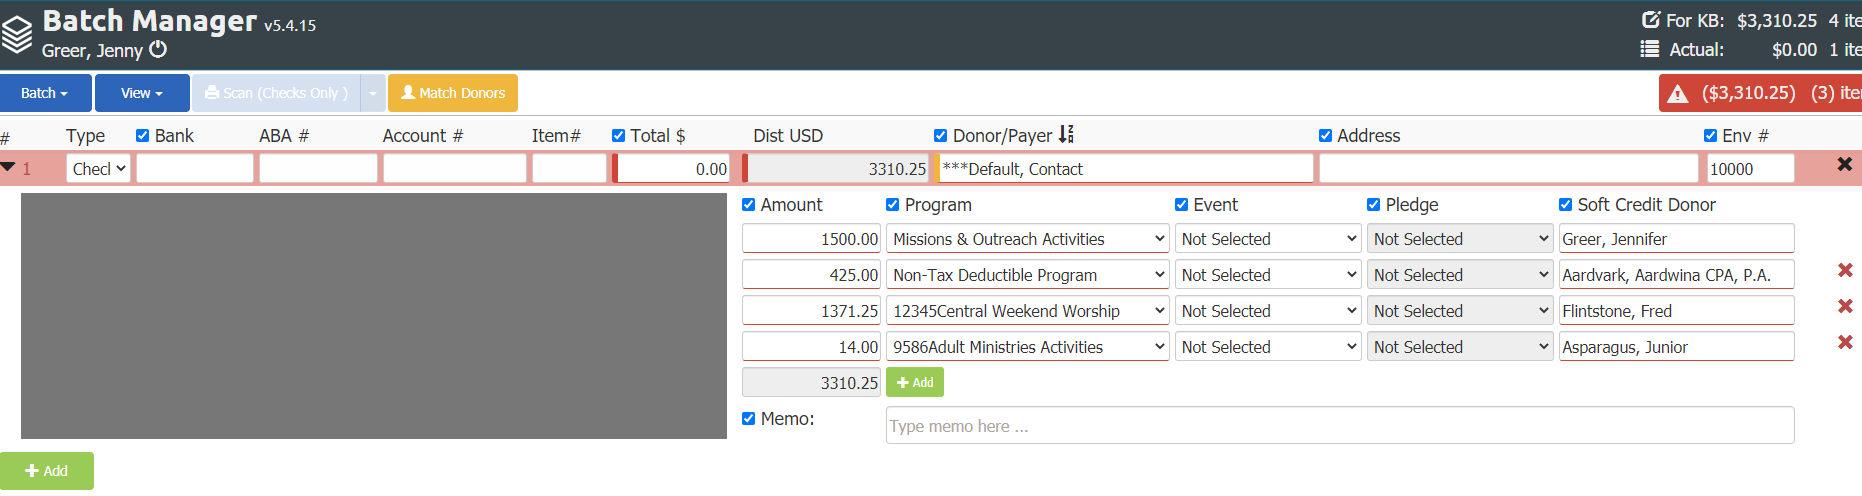
In addition to the ability to navigate via tab, you can also control what fields you want included in your "tab scope". By clicking the checkbox next to a column header, you can turn on or off the tabbing for that column. For example, you can select just the Donor, Amount and Program columns to limit your tabbing to these fields for each record (you can still access any field using a click of the mouse).
Column Selection (tab scope) is retained between sessions (until browser cache is cleared).
Also, to assist data entry and navigation, you can use "View" to expand and collapse the Donation rows to hide/show the images.
Additionally, clicking on a column header sorts the records by that column. For example, clicking on the Donor column would allow you to quickly sort all the records needing Donor assignment together to ease data entry.
With the Donation rows expanded so you can see the check image if you click Zoom In on the check image, it zooms into the check image in the location corresponding with the field your cursor is in and move the zoom accordingly as you change fields. For example, if my cursor is in the Account # field, and I click Zoom In, the check will zoom to the MICR. Then, if I tab to the Item # field, the check will zoom to the check number.
